Introduction
Punching bags are a staple in both home gyms and professional training facilities, cherished for their versatility and efficacy in fitness routines. Whether you’re a novice boxer or a seasoned martial artist, the right punching bag can dramatically enhance your workout efficiency. However, purchasing an unfilled punching bag can often be puzzling when it comes to proper setup. Filling your punching bag correctly is crucial—not only for maintaining the bag’s shape and durability but also for ensuring safety during your workouts. In this guide, we will explore the top three methods to pack an unfilled punching bag, focusing primarily on using clothes, which stands out as the best option for its practicality and effectiveness.
Contents
- Why Opt for an Unfilled Punching Bag?
- Preparing Your Punching Bag
- Method 1: Using Clothes
- Benefits
- Step-by-Step Guide
- Method 2: Using Sand
- Preparing the Sand
- Filling Technique
- Method 3: Using Sawdust or Rubber Mulch
- Finalizing Your Punching Bag Setup
- Conclusion
Why Opt for an Unfilled Punching Bag?
Choosing an unfilled punching bag offers several advantages:
- Customizable Density: You can adjust the filling to alter the bag’s weight and firmness, tailoring it to your specific training needs.
- Reduced Shipping Costs: Unfilled bags are lighter and less cumbersome, cutting down on shipping fees significantly.
- Longevity and Maintenance: You can replace the filling as needed to maintain the bag’s shape and integrity over time.
Preparing Your Punching Bag
Before you start filling your punching bag, ensure it is clean and dry inside. Check for any tears or weak spots; these should be repaired to prevent materials from escaping during use. Also, consider lining the interior with a plastic bag to prevent dust from leaking and to facilitate easier filling.
Method 1: Using Clothes

Benefits
- Cost-Effective: Utilizing old clothes is a budget-friendly option as it recycles materials that you already have.
- Adjustable Firmness: Clothes can be packed tightly or loosely, allowing you to control the bag’s firmness.
- Safe and Soft: Provides a softer impact that is easier on hands and feet, ideal for beginners.
Step-by-Step Guide
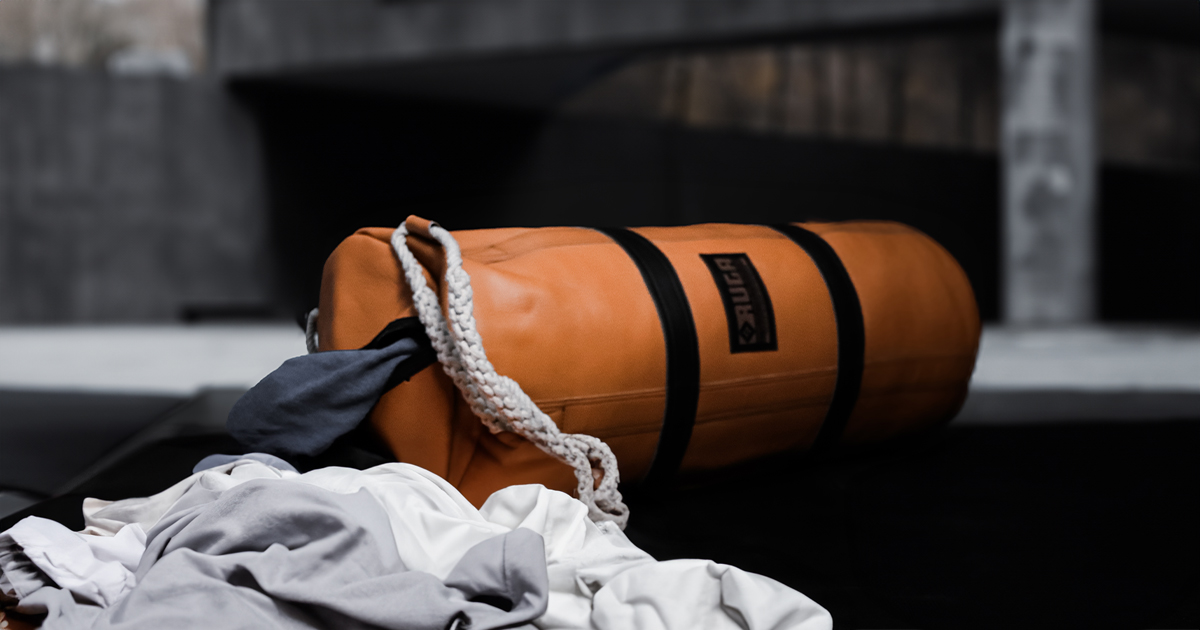
- Gather Materials: Collect old clothes, including shirts, pants, and towels—preferably fabric that compresses well. Thrift stores can be a great resource if you do not have enough clothes at home. For my bags, for example, I used clothes I no longer wore and spent a few dollars at Goodwill buying additional bed sheets and heavy fabrics to pack them to my desired weight.
- Start Filling: Begin by placing the heaviest clothes at the bottom. This creates a stable base for your punching bag.
- Pack Tightly: Continue filling with a mix of tightly rolled and loosely crumpled clothes. The tighter the clothes are packed, the firmer the bag will be.
- Shake Down: Periodically shake the bag to settle the contents and eliminate air pockets.
- Top It Off: Once the bag is filled, use softer items like towels or blankets for the top layer to prevent hand injuries during strikes.
Method 2: Using Sand

Preparing the Sand
Use clean, dry sand. Beach sand tends to retain moisture and can cause mold issues, so it’s best to use commercial sandbag sand.
Filling Technique
- Layering: Start with a base layer of clothes for padding.
- Add Sand: Pour sand into a heavy-duty plastic bag and place it in the center of the punching bag. This adds weight and density but keeps the sand contained to avoid uneven settling.
- Secure the Bag: Tie off the plastic bag securely to prevent leaks.
- Fill Around the Sand: Pack clothes tightly around the plastic bag of sand to stabilize it and maintain the bag’s shape.
Method 3: Using Sawdust or Rubber Mulch

Advantages
- Lightweight: Both materials are lighter than sand, making the bag easier to move.
- Inexpensive: Sawdust and rubber mulch are both cheap materials that are readily available.
How to Fill
- Mix Materials: For optimal results, mix sawdust or rubber mulch with small amounts of cloth or foam pieces to create a balanced fill that retains the bag’s shape and provides consistent resistance.
Begin the Filling Process: Similar to the sand method, start with a layer of clothes or foam at the bottom to prevent the finer materials from settling and hardening at the base.
Add the Primary Filling: Gradually add your sawdust or rubber mulch, compressing firmly as you go to ensure the bag remains even and maintains its cylindrical shape. If using sawdust, consider a double layer of plastic bags to avoid any leakage.
Layer with Clothes: Intersperse layers of clothes or foam sheets between layers of sawdust or mulch to enhance the bag’s integrity, improve impact absorption, and prevent the fill materials from compacting into hard layers.
Finalize the Top Layer: Cap the filling with a generous layer of foam or multiple folded towels. This top layer acts as a cushion, protecting knuckles and joints during strikes.
Finalizing Your Punching Bag Setup
Once your punching bag is filled, perform the following steps to ensure it is ready for use:
Close the Bag Securely: Stitch the top of the bag closed or use a strong adhesive tape to seal it. Ensure the closure can withstand repeated impacts without reopening.
Test the Bag: Gently hit the bag at various points to check for consistent firmness. Adjust the tightness by adding or removing materials as necessary.
Install the Bag: Hang the bag from a secure beam or a specially designed punching bag stand. If filled very heavily, ensure the mounting setup can support the weight without risk of breaking.
Safety Check: Regularly inspect the bag for any signs of wear or damage, especially at the seams and hanging points. Immediate repairs will prevent accidents and extend the life of the bag.
Wrapping Up
Filling an unfilled punching bag can be a highly personalized process that significantly enhances your training by providing equipment tailored specifically to your needs. While materials like sand or sawdust and rubber mulch are viable options, using clothes to fill your punching bag is particularly advantageous and gets our vote as the top choice. Clothes check all the boxes for affordability, ease of use, adjustability of weight, and soft impact, making them the ideal choice for most practitioners.
By choosing clothes as your filling, you not only utilize a cost-effective solution but also achieve a perfect balance in weight and firmness, enhancing your workout safety and efficiency. This method not only preserves the shape and integrity of the bag over extensive use but also ensures it remains adaptable to your evolving training requirements.
Follow these guidelines to ensure your punching bag serves as a robust and effective training tool that embodies the rugged elegance and legacy of the RUGA brand. Train hard, strike true, and let every punch carve out your legacy with RUGA’s sophisticated grit!


 No products in the cart.